Hello Everyone,
Since my last post on the Chisel shape using the awesome AccuQuilt Go Cutter, I had a special request from Pat. She wanted to see exactly how the braid went together. So I definitely felt I should oblige this request. If you can stay with me through to the end of this post, I will give you some details on how you can win one of these wonderful GO! Cutters from little old me.
So strap yourselves in for the Chisel Tutorial...

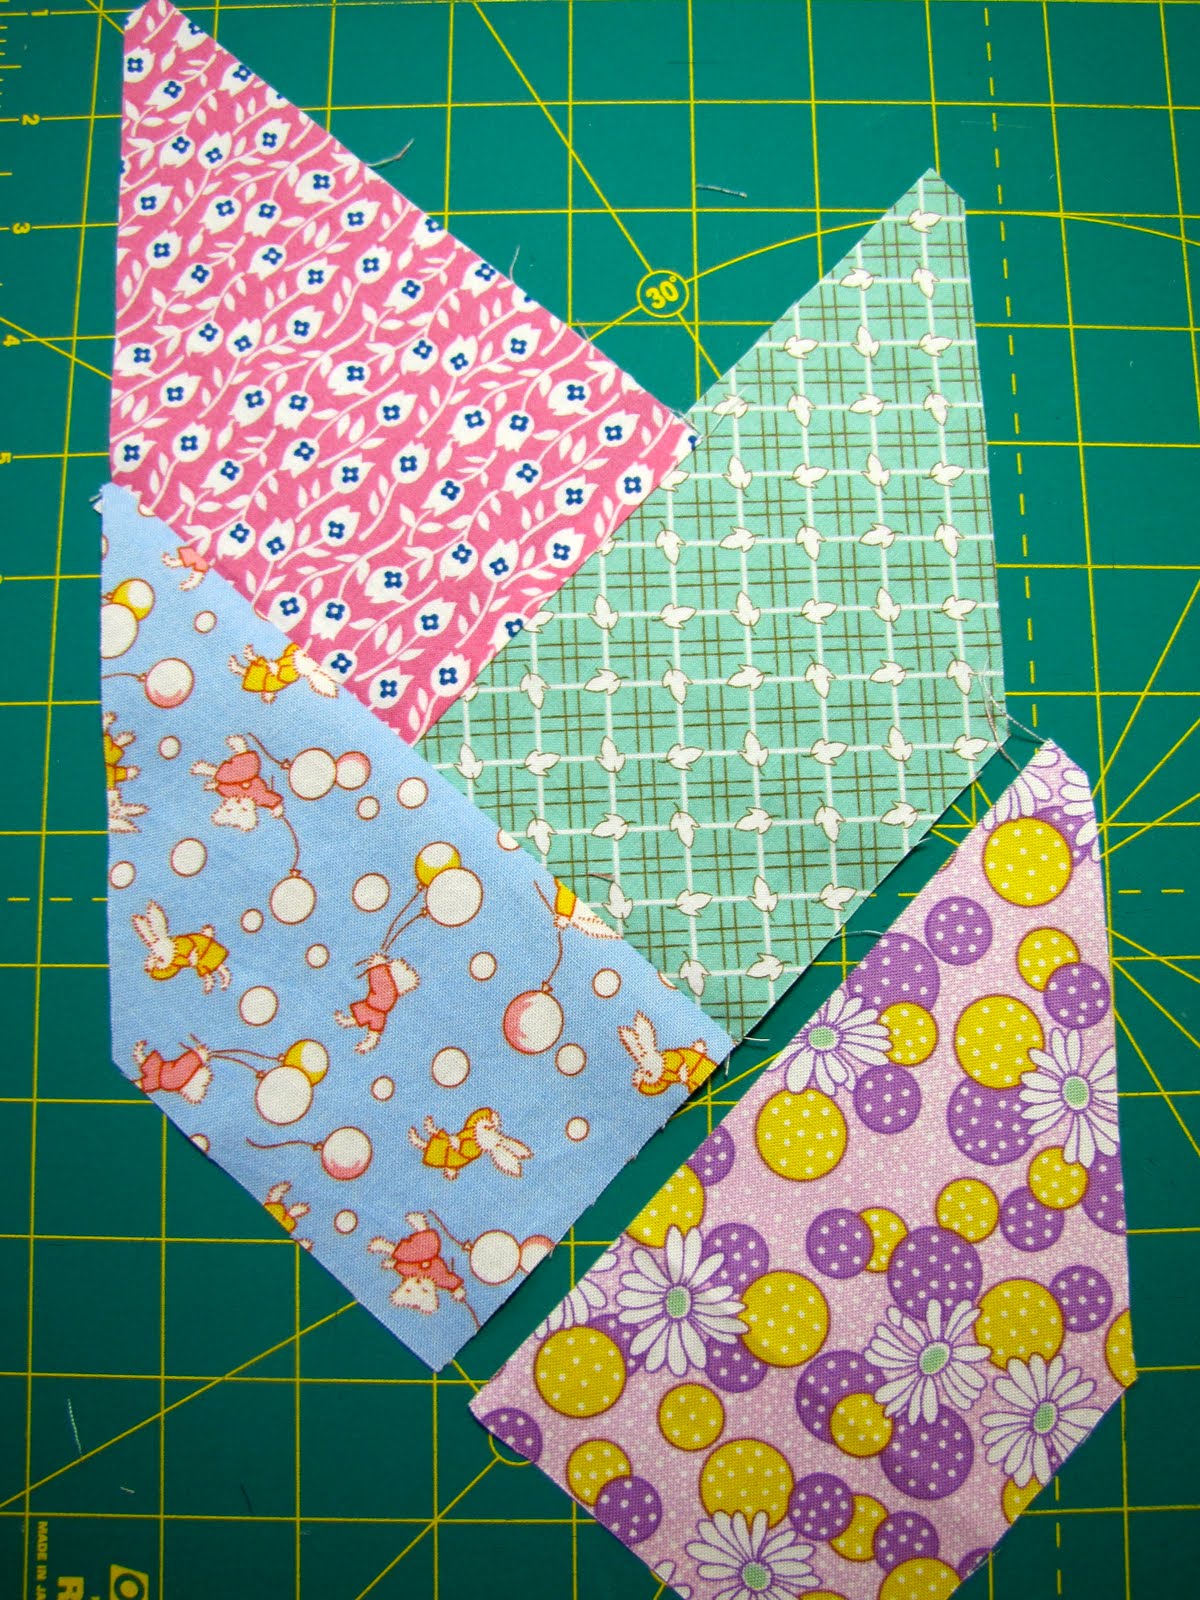
First you have your piles of left and right chisels. The method for making left and rights was described here.

You will then begin the process of joining them together. When two are joined they will look like this photo above.
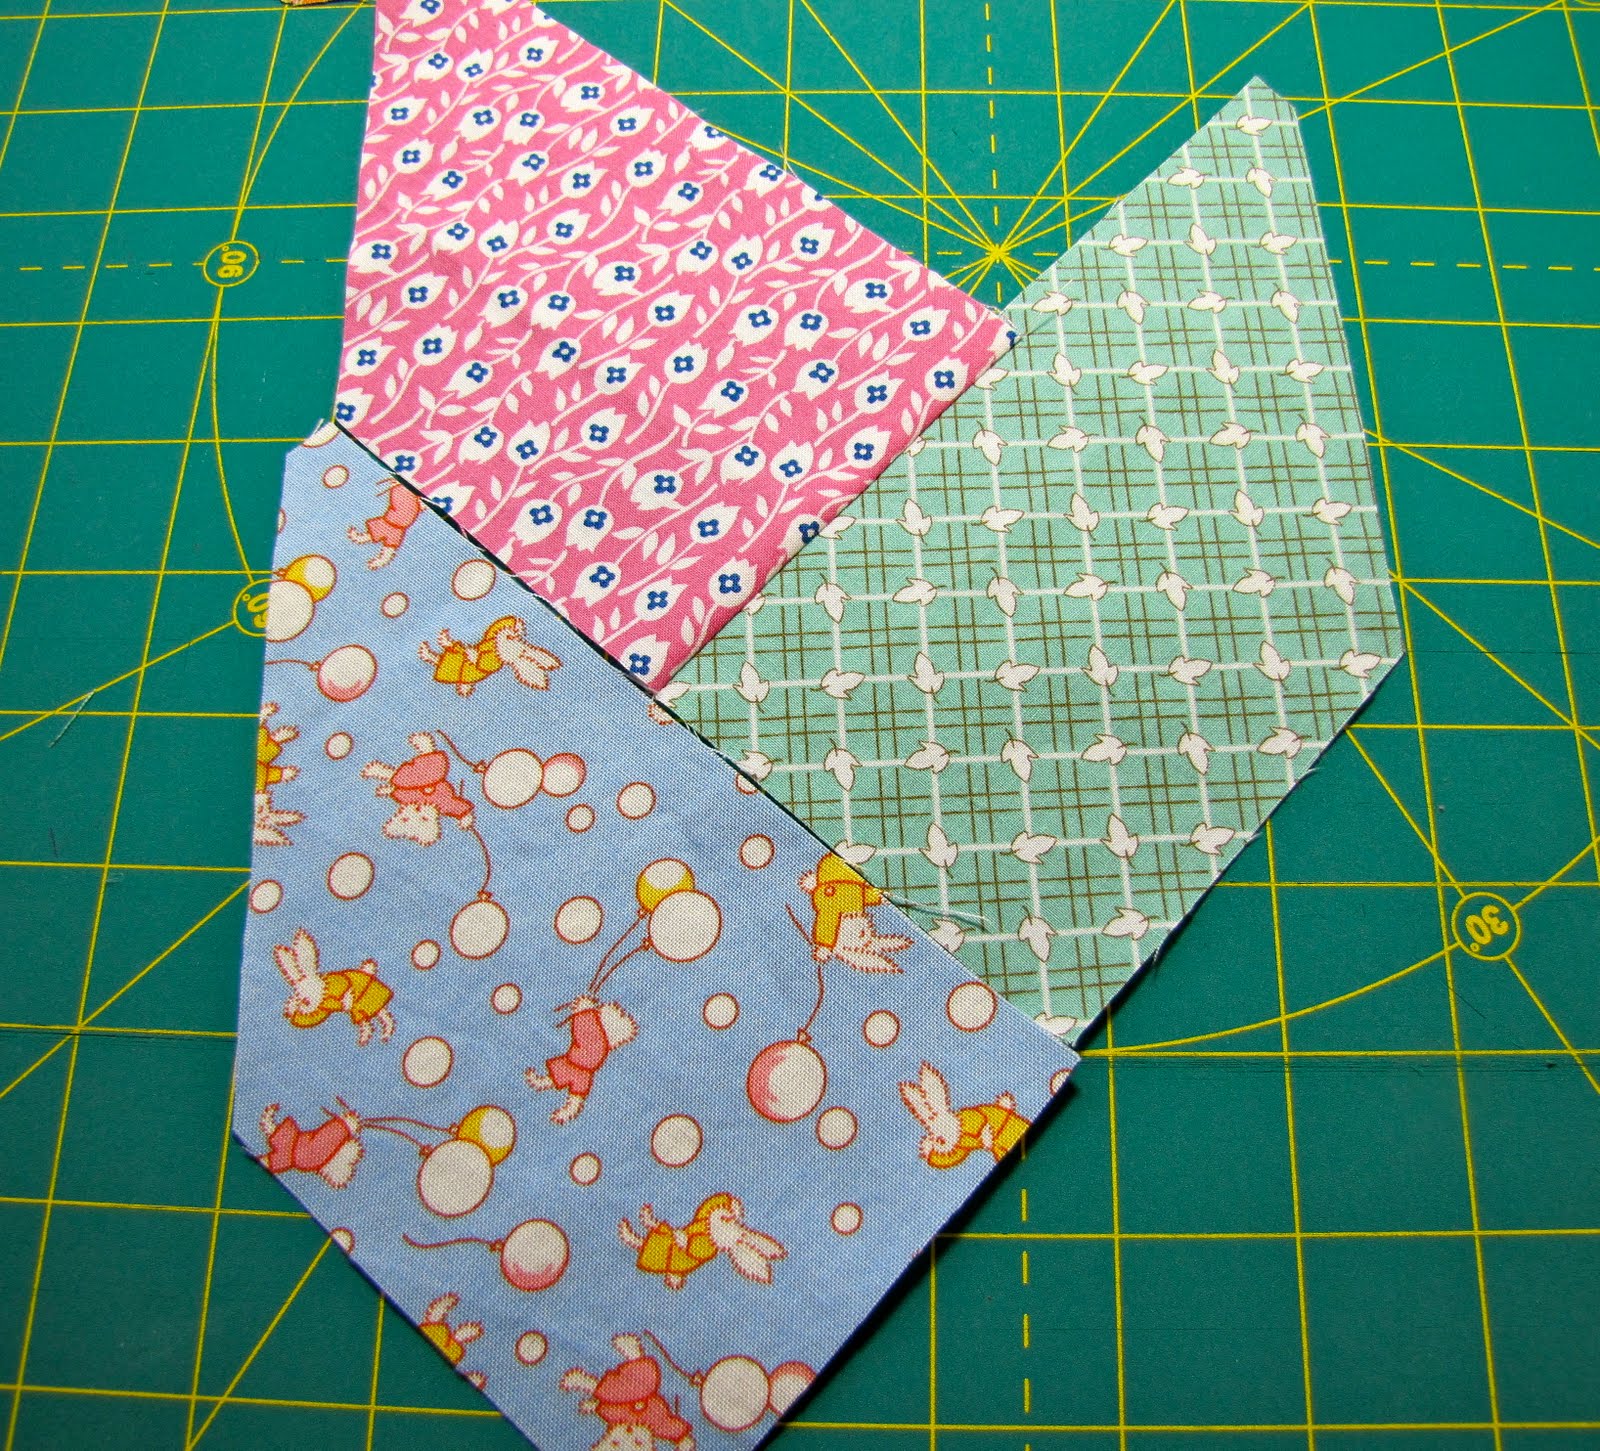
Then you want to begin adding the next chisel. In this case it will be a left chisel shape and will fit on the bottom like shown above.

The photo above show the left chisel sewn in place.

The crucial part here is that you need to press each chisel after they are joined. As shown above the left chisel has been joined and pressed open.

Here is the back side, shown above.
Now it is time to join a right chisel shape. Above you can see the placement of this shape. You will sew it in place.

Above you can see it sewn in place, then press it open. Once it is pressed open then you can join another left piece and you will continue to alternate sides until you get it to the length you desire.
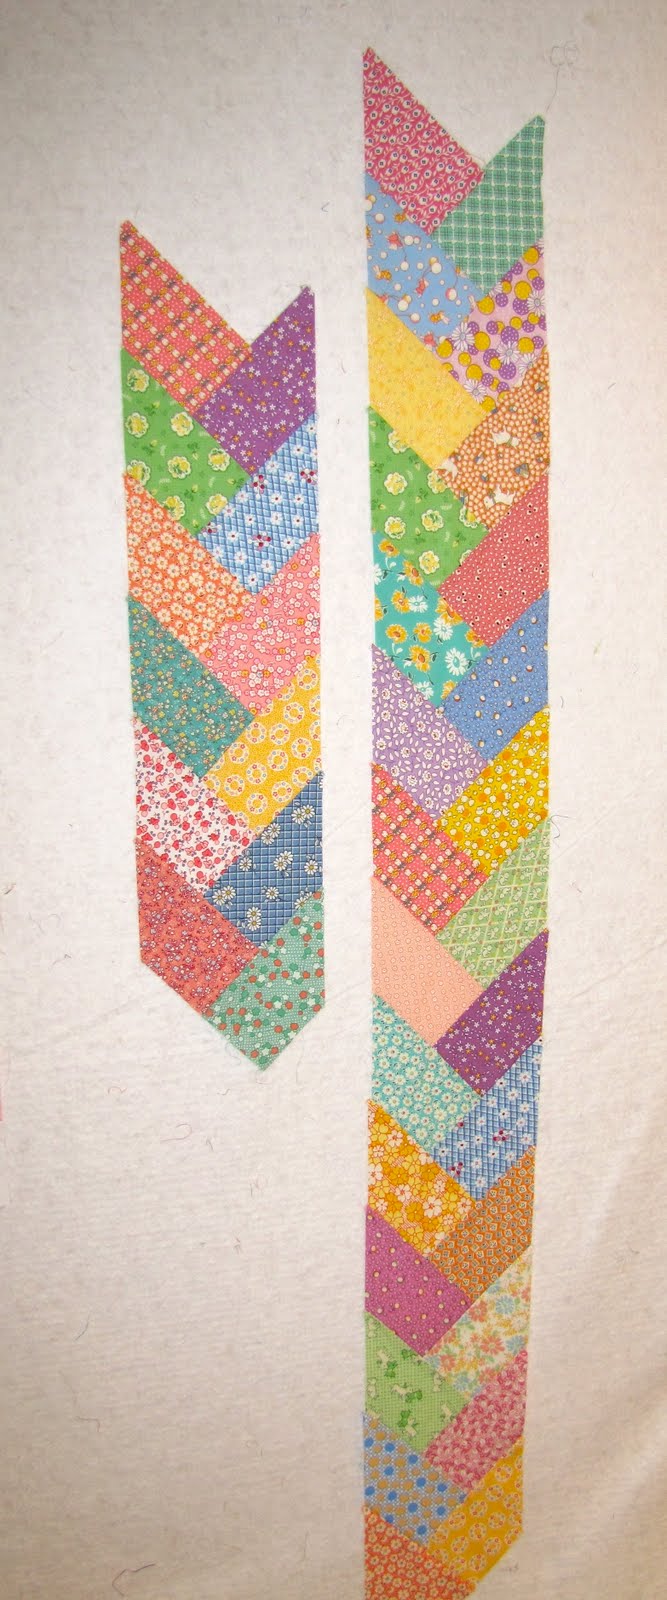
You can see I have one braid to the length I would like. The other side will get there. This is going to be a runner for the guest bedroom. The entire design will be shown in my next post. Now you can't leave the ends uneven, they need to be trimmed.

The top of the braid will be trimmed like the above photo shows. You will trim 1/4 inch from the point of the V.

Once it is trimmed it will look like the above photo, nicely squared off.

The bottom half is similar. You will measure 1/4 inch out from the last V formed.

Trim the excess away and you will have a bottom that looks like the above photo.

Now you can see, as in the photo, the difference between the squared off braid and the one in progress. I hope this tutorial helps you to understand how to make the braid. I welcome any questions.
Now to what you have been waiting for...
1. Next week I will be posting about the GO! Giveaway and hopefully have a finished project to show you. So check back for the chance to win!!!
2. If you would like some of these wonderful 30s fabrics, you can get them for this week (8/16 - 8/20) only in my online shop for $6.75 per yard. The rest of the site is 10% off with the code blowout10. Click here for all the details.
3. Also, my blogging pal Emily has done a wonderful post featuring me, I am humbled, so please go and visit her and tell her I said hello!
I wish you all a wonderful week and lots of sewing happiness!!
Until Next Time...